

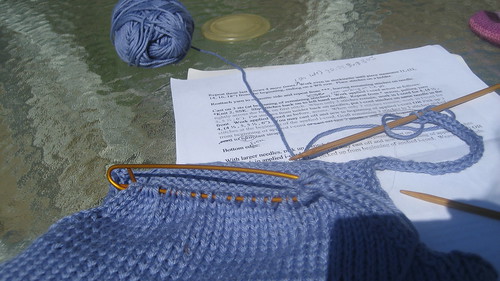
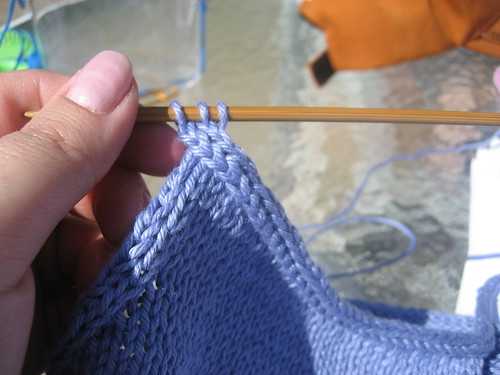
In picture 1, I've completed the 1st section of applied i-cord and continued to make the i-cord shoulder strap.
Here are the remaining stitches waiting on the holder.
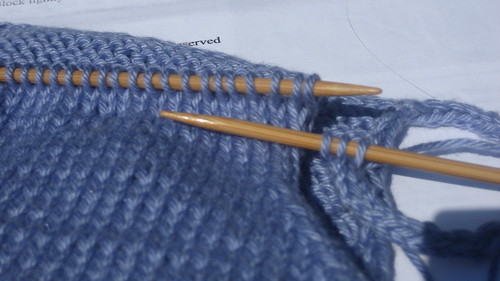
I've transferred the stitches to a needle.
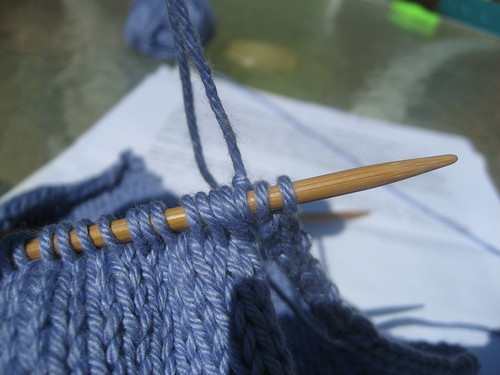
I've added the 3 i-cord stitches in front on those remaining stitches.
I begin the second section of applied i-cord.
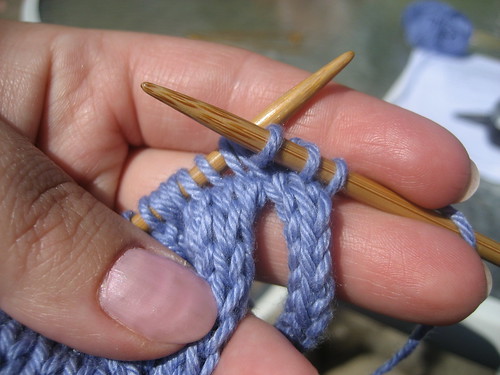
Here I've completed the last of the applied i-cord.

Now, I just need to graft the strap to the beginning.
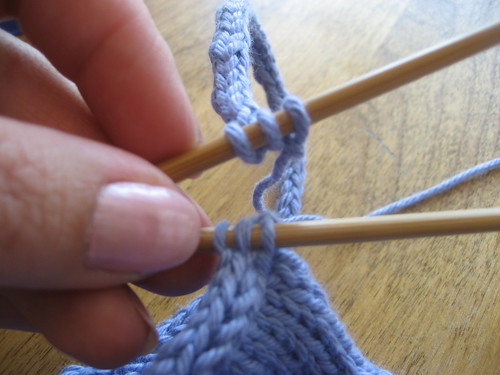
I pick up 3 stitches and graft / kitchner stitch them together.
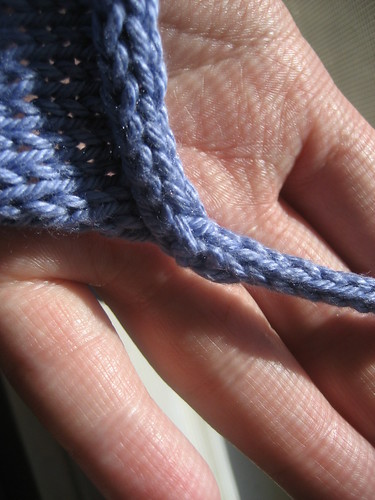
Done!

 I'm working on the final copy of the pattern now. It will go live on May 30, or maybe a little sooner if I can manage it.
No comments:
Post a Comment